How do I run the MIS Sync wizard?
![]() Updated
by
Matt Besant
Updated
by
Matt Besant
The easiest way to sync your pupil/staff accounts in Purple Mash with the information stored in your MIS is by running the MIS Sync Wizard.
The MIS Sync Wizard creates new pupil accounts, removes leavers, and moves existing pupils to their new classes.
You can find out how to register for MIS Syncing here.
If you are already set up, follow the steps below. A video walkthrough is also available.
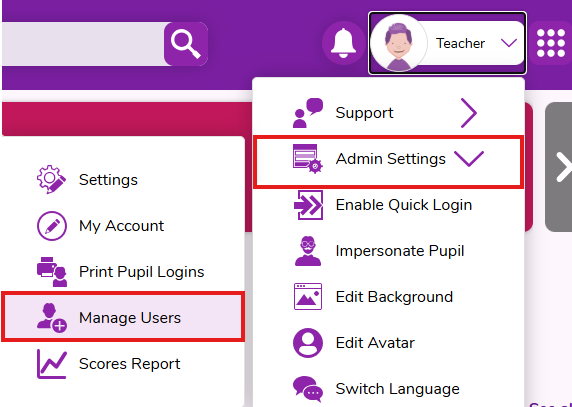
- Log into Purple Mash and head to the Manage Users section.
Prepare Existing Classes: Ensure that any pre-existing classes in Purple Mash are named exactly as they appear in your MIS to prevent duplicate classes. You can review your Purple Mash class list here, and double click on classes to rename them.
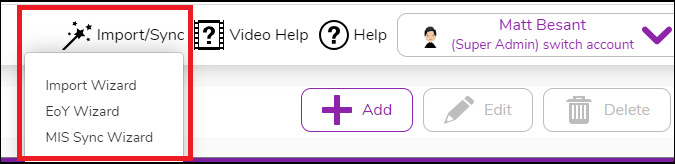
- Run the MIS Sync Wizard:
- Within 'Manage Users', select 'Import/Sync' at the top of the page.
- Choose 'MIS Sync Wizard' from the dropdown menu.
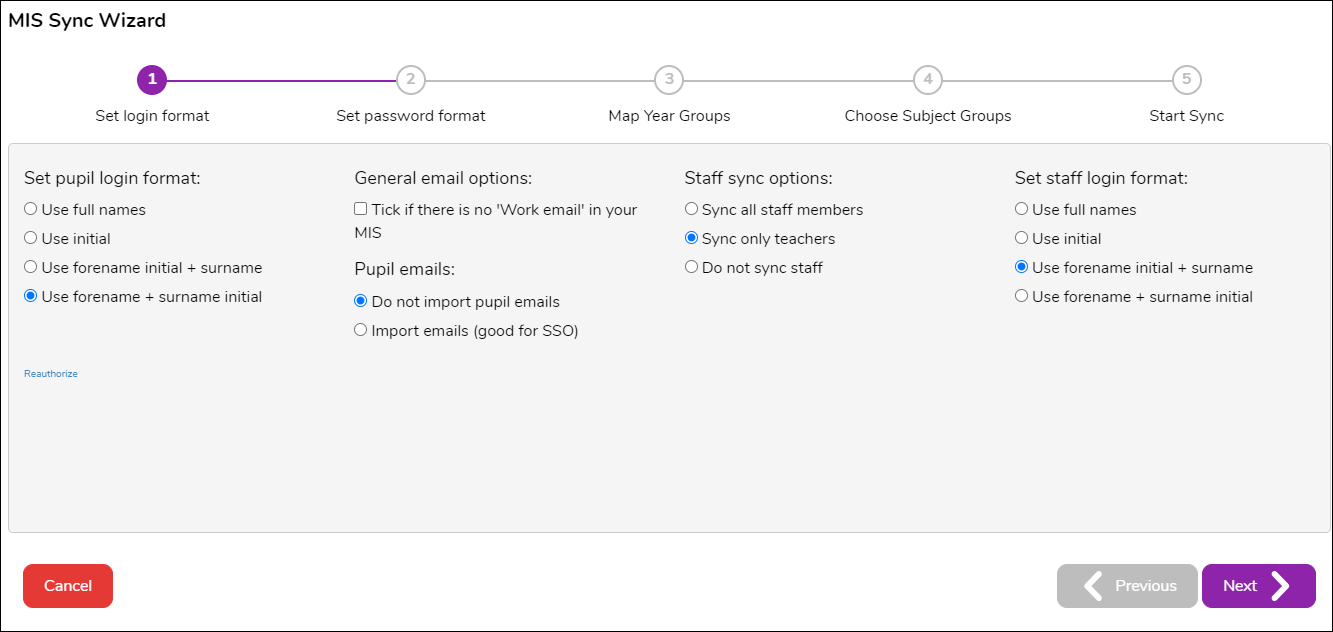
- Configure Usernames:
- Selectyour preferred username format. The default is 'Forename + Surname initial' (e.g., John Smith becomes JohnS).
- Click 'Next' to proceed.
- Set Password Formats:
- Choose appropriate password formats for pupils. Common choices include 'Two Digit Picture Pin' for younger pupils and 'Picture Pin' for older pupils.
- Click 'Next' to continue.

Username and password settings apply only to new users. Existing users will keep their current login details.To change passwords for existing pupils, you can follow our guide here.
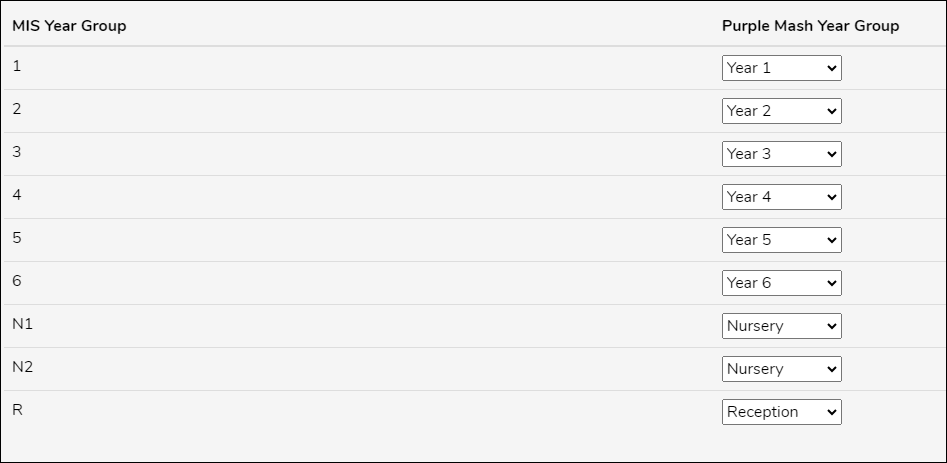
- Map Year Groups:
- Match your MIS year group names with Purple Mash's standard naming conventions (e.g. '6', 'Y6' or 'Year Six' should map to 'Year 6').
- Click 'Next' after mapping.
- Select Subject Groups (if applicable):
- Tick the subject groups you wish to import.
- Click 'Next' to proceed.
- Review Summary: You will now be shown a summary of the information that will be imported from your MIS. You can find out more about what each line of the summary represents here.
If 'Possible Duplicates' are detected (bottom row), resolve them by clicking the + and selecting 'Resolve all duplicates'.

- Complete the Sync:
- Click 'Finish' to complete the sync.
- New staff accounts will receive activation emails
- You can print pupil login cards by following the steps here: How do I print or export my pupil logins?
If you see “Users who will not be imported due to errors” on the summary page, check your MIS system for missing email addresses for staff, or Pupils without registration groups. You can address these issues in your MIS and rerun the wizard, or manually add the missing users in Purple Mash.
For further assistance, please contact support@2simple.com.