Printing .gcode files with 2Design & Make
Some 3D printers will automatically convert an STL file into a printable format, others you may need to convert first.
1. Download the STL file from 2D&M
2. Go to http://slic3r.org/ and download “slic3r” – a free piece of software that we will use to convetr the STL to .gcode
Note: Your school may have restrictions on installing 3rd party software. Slic3r is not made by PurpleMash – you may wish to ask your Network administrator to run a virus scan on it.
3. That should download a zip file to your desktop. Right-click and unzip the archive. (See Windows screenshots below)
 | 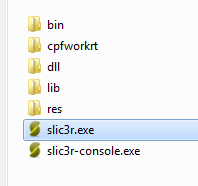 |
4. Inside, open the executable slic3r.exe. it may ask you to set up your printer the first time you do this, but since we’re not actually going to print anything you can just choose the defaults and keep pressing Ok.
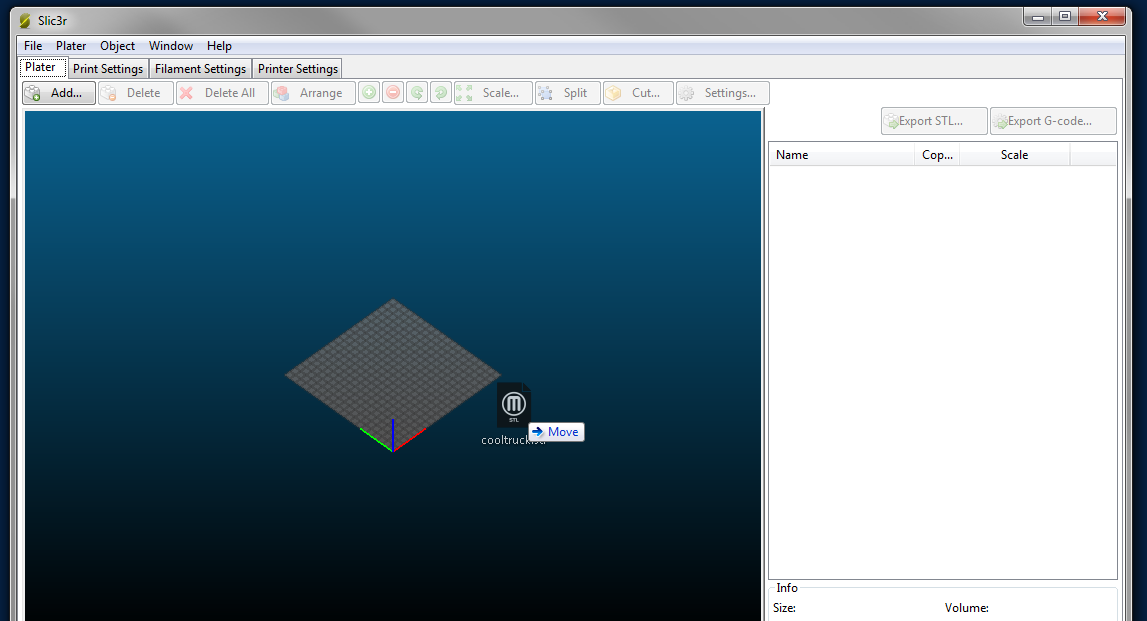
5. Drag your STL file onto the stage.
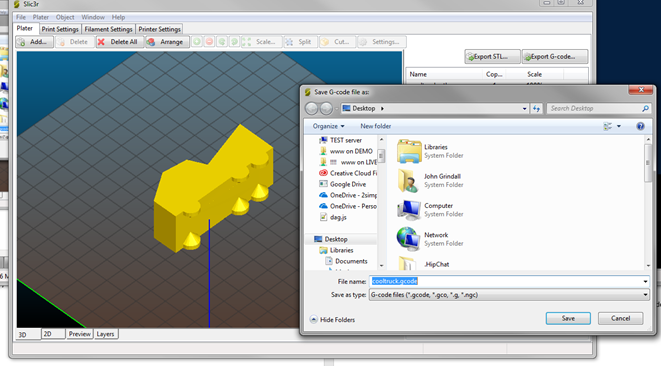
6. Click on the “Export G-code” button at the top right. It will prompt you to save the gcode file on your PC.
7. Open the gcode file on your 3D printer